E2E Testing with Cypress: Introduction
End-to-end (E2E) testing is an essential part of software development. It ensures that the application behaves as expected from start to finish, providing a better user experience and catching potential bugs early on. And when it comes to E2E testing, Cypress is a popular and powerful choice.
In this tutorial, we'll take you through the steps to install Cypress on a Windows machine and create your first E2E test. We'll also touch on the basics of Mocha and Chai, the test frameworks used by Cypress. So buckle up and get ready to dive into the world of E2E testing with Cypress!
Installing Cypress on Windows
To install Cypress, you'll need to have npm (Node Package Manager) installed on your machine. If you don't have npm, you can find the latest version here.
Once you have npm installed, navigate to your project folder in the command line and run npm init. Then, use the following command to install Cypress:
npm install cypress --save-dev


To open Cypress, run npx cypress open.
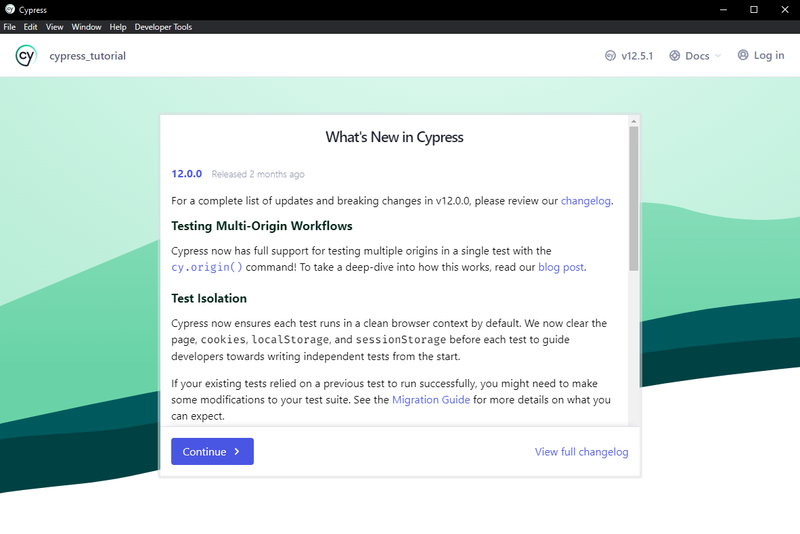
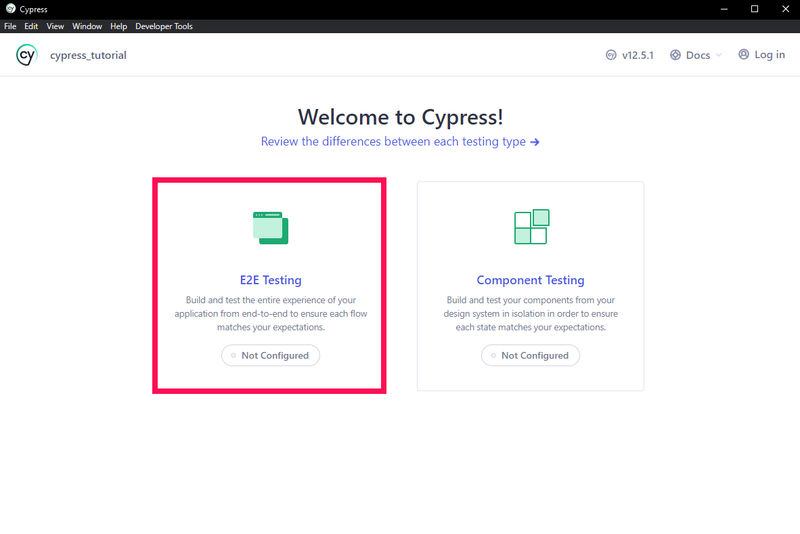
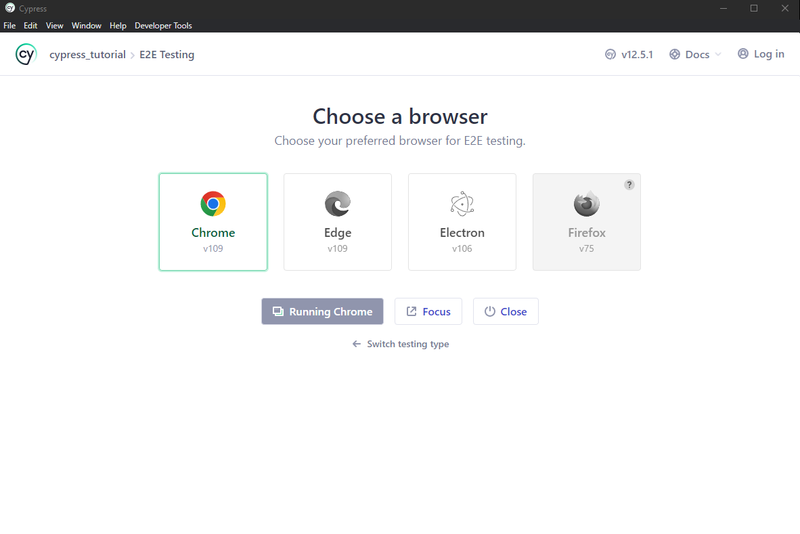
This will launch the Cypress launchpad, where you can explore the different testing options available. For this tutorial, we'll be focusing on E2E testing. You can choose any browser from the list, this can be changed later.
Creating Your First E2E Test
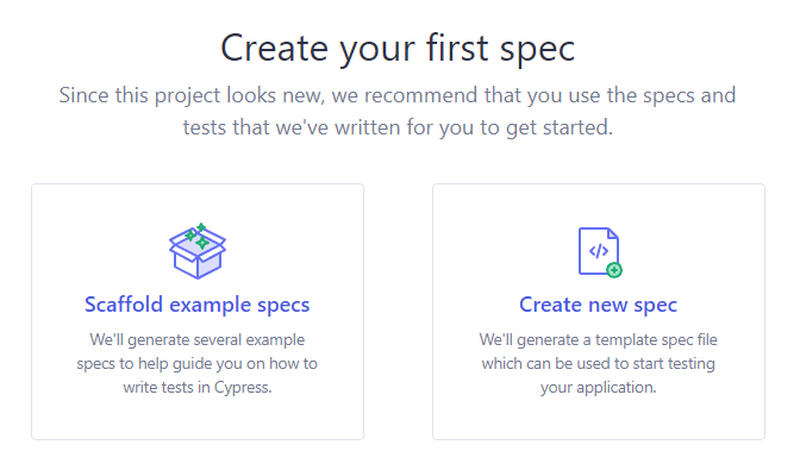
In the Cypress dashboard, choose the option to "Create new empty spec".
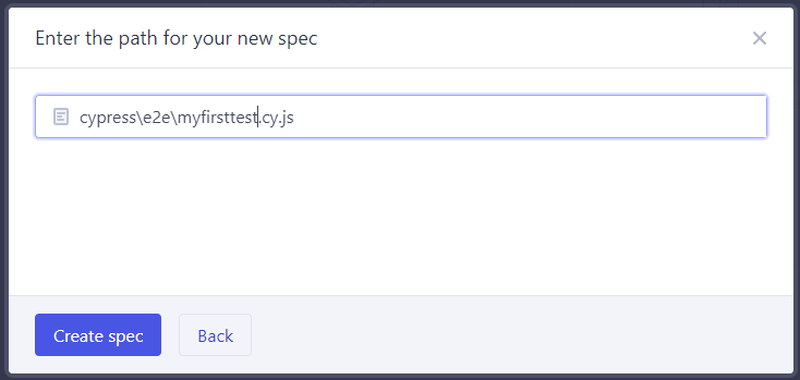
Give your spec a name and click "Create Spec". The spec will be added to the list of E2E tests and you'll be taken to the IDE (Integrated Development Environment) to write your test.
Run your test to make sure everything is set up correctly. Don't worry if it fails, we will be updating the code anyway.
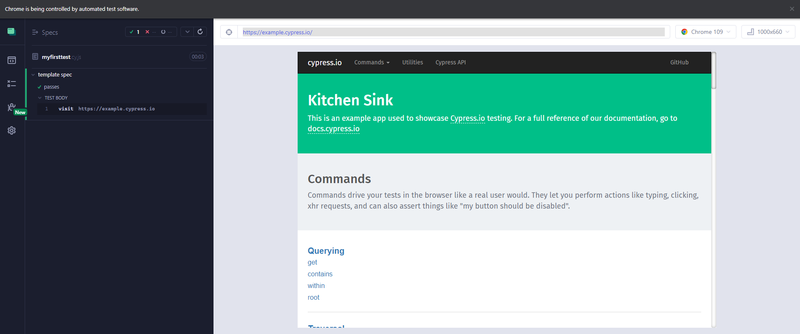
Next, let's update the code in the IDE to write our first test.
describe('template spec', () => {
  it('passes', () => {
    cy.visit('https://example.cypress.io')
  })
})
Writing Your First Test
Cypress uses Mocha and Chai for its tests, so if you're unfamiliar with those test frameworks, be sure to check out my post about them for more information.
With your IDE open, update the code to write your first test.
describe('My First Test', () => {
  it('finds the content "type"', () => {
    cy.visit('https://example.cypress.io')

    cy.contains('type')
  })
})
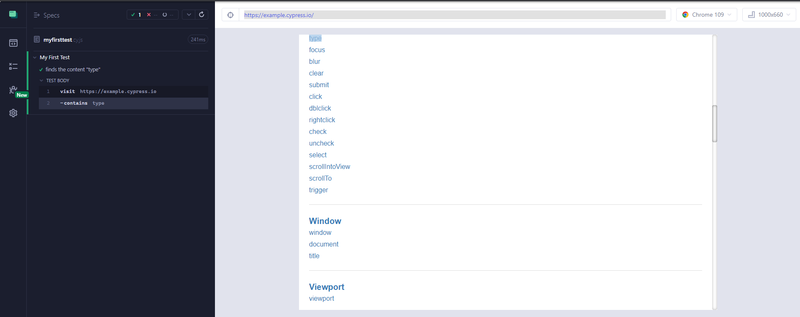
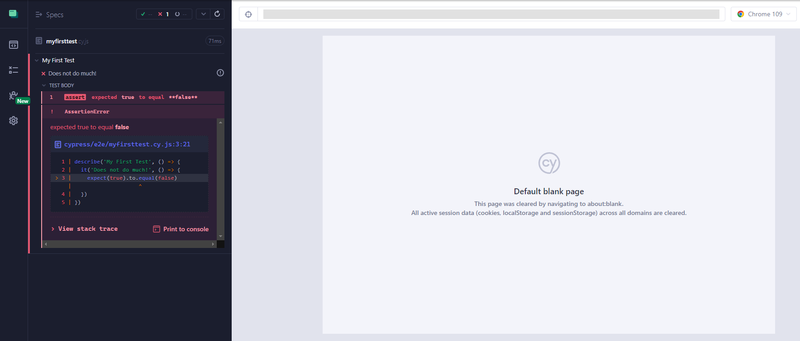
When you save the changes, the test will automatically run and you should see it pass. Try updating the test to make it fail – this will give you an understanding of how the test framework works.
describe('My First Test', () => {
  it('Does not do much!', () => {
    expect(true).to.equal(false)
  })
})
In conclusion, E2E testing with Cypress is a straightforward and effective way to ensure your application is functioning as expected.
With this tutorial, you should now have a solid foundation to start writing and running your own E2E tests. Happy testing!
P.S: Who said testing can't be fun? Well, we can't promise it will be a walk in the park, but with a little bit of humor, it might make the process a little less daunting. Just remember, testing is important and helps catch potential issues early on!